

18-pin Microneedle Cartridges for Dr. Pen M9 (A Pack of 5)
18-pin Microneedle Cartridges for Dr. Pen M9 (A Pack of 5)


The next-generation microneedling pen, designed for an easier at-home routine.
Get yours for $299 $399
Limited-time launch offer. Ends 31 October 2026.
T&Cs apply. Expand to view full T&Cs.
T&Cs:
Offer valid at drpen.co.nz until 31 October 2026 at 11:59 PM AWST. No code required. Offer applies to the Dr. Pen M8 Max microneedling pen only and excludes all other products, including M8 Max cartridges. Prices as marked. No rainchecks. While stocks last. Dr. Pen Global reserves the right to amend or withdraw this offer at any time.
Complete your journey to healthier skin with:
Get the full routine and speed up your results



USED IN SALONS
Trusted by professionals
FREE NZ SHIPPING
Over $99.00
18-Pin Microneedle Cartridges for Dr. Pen M9 (Smart Chip)
If you’re after a cartridge that gives you more control in tricky areas, the Dr. Pen M9 18-Pin Microneedle Cartridges (5 Pack) are made for precision work — perfect for focused skin repair where you need accuracy.
These cartridges are designed only for the Dr. Pen M9 Microneedling 2.0 system and include an Integrated Smart Chip to connect with your device. Just line up the alignment markers, twist to lock, and you’re set for a smooth, secure fit.
For General Facial Rejuvenation
These cartridges are designed for full-face treatments and provide a more comfortable and balanced microneedling experience. They are ideal for addressing fine lines, mild scarring, pigmentation, enlarged pores, uneven skin texture and overall skin rejuvenation.
Here is the cartridge selection guide for more information.
Key Features
-
18-Pin Precision Configuration
A targeted needle layout designed for intensive, detailed microneedling sessions. -
Integrated Smart Chip ID System
Communicates with the Dr. Pen M9 system when installed correctly via alignment markers. -
Individually Sealed & EO Gas Sterilised
Every cartridge is professionally sealed for hygienic, single-use application. -
High-Grade Stainless Steel Needles
Crafted for consistent performance and reliable glide. -
Exclusive Compatibility
Designed only for Dr. Pen M9 (not compatible with other Dr. Pen models).
Benefits
-
Targeted Scar Revision
The 18-pin design supports intensive stimulation in focused zones, helping improve the look of deep acne scars and depressed texture by encouraging a smoother appearance. -
High-Precision Control
The compact configuration provides better control around complex facial contours such as the upper lip, nasolabial area, nose and glabella, where wider pin layouts can feel less accurate. -
Enhanced Nutrient Delivery
Creates precise micro-channels that support improved absorption of your microneedling-compatible serums, helping actives reach deeper layers. -
Texture Resurfacing
Ideal for smoothing the appearance of rough texture, uneven skin grain and surface irregularities caused by previous skin trauma. -
Targeted Localised Repair
The 18-needle configuration is specifically designed for high-precision treatment of small, stubborn areas.
What’s In The Box
-
5 × 18-Pin Microneedle Cartridges for the Dr. Pen M9 Microneedling Pen
Specifications
-
Model: 18-Pin
-
Quantity: 5 Cartridges per pack
-
Material: High-grade Stainless Steel
-
Technology: Built-in Smart Chip ID System
-
Compatibility: Exclusive to Dr. Pen M9
-
Packaging: Individually sealed, EO gas sterilised
How to Use
Please note: Dr. Pen cartridges arrive in individually sealed, sterile pouches, sterilised with ethylene oxide gas and UV light during packaging. Secondary sterilisation with isopropyl alcohol before use is entirely optional. Some users prefer this extra step for added peace of mind, and that is completely fine.
Read our detailed instruction guide to the microneedling steps here.
Here are the steps to microneedling with the cartridges:
- The cartridge comes in a sterile pack.
- Double-cleanse (cleanse and repeat) then wipe the skin clean. Fully tie your hair back, away from your face.
- Check your cartridge; ensure the needles are in perfect condition (i.e., not bent) and remove any debris.
- Insert the cartridge into the microneedling pen until it clicks into place.
- Set your desired needle depth and speed level.
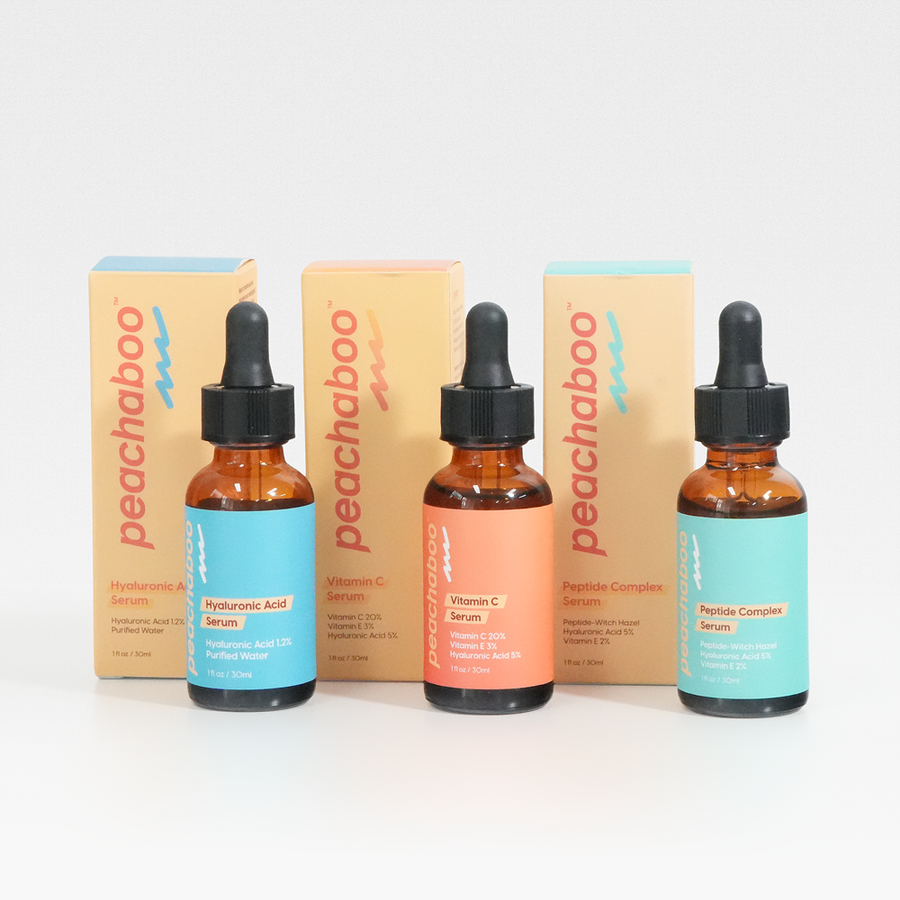
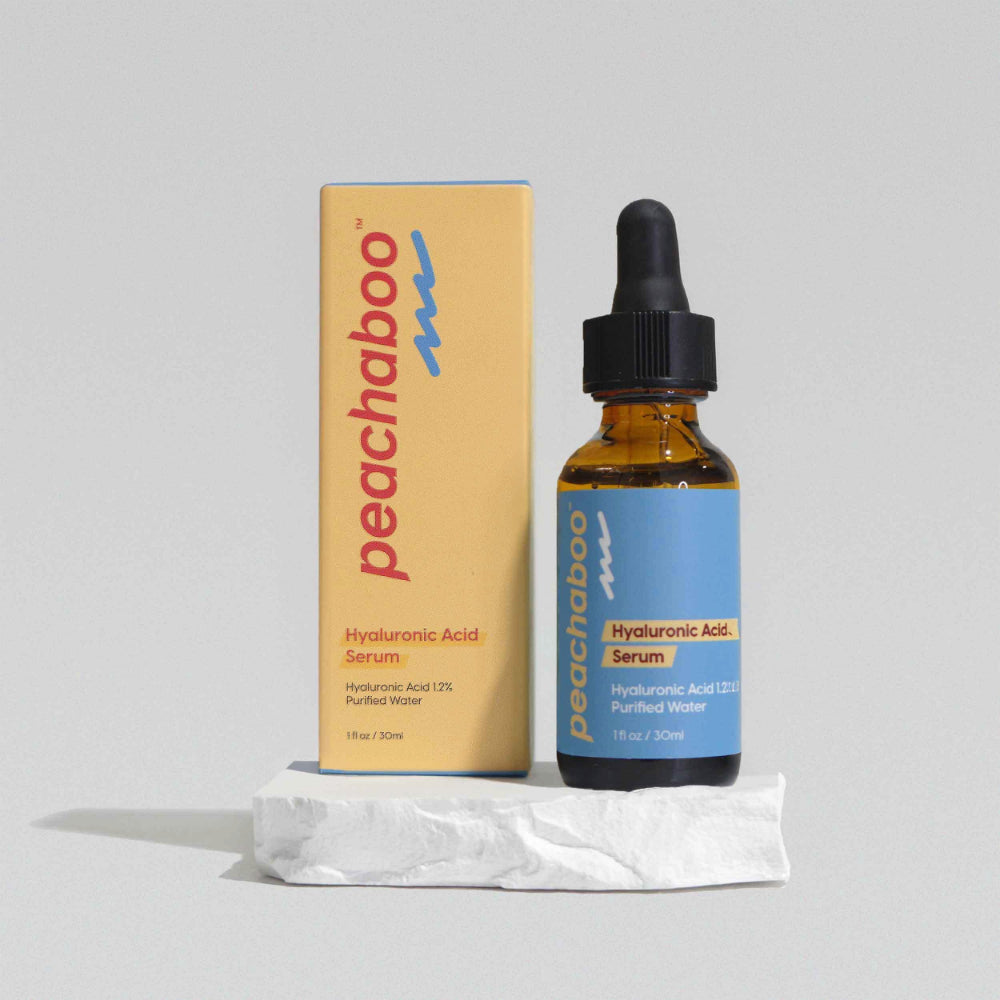
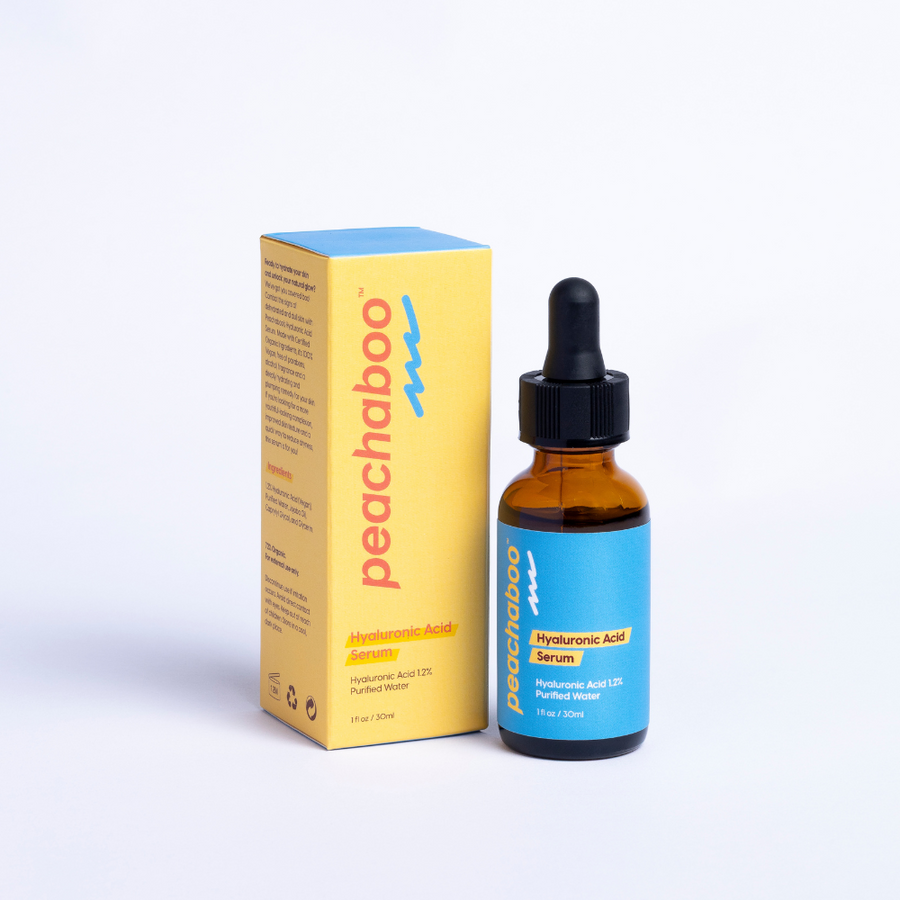
- Work in small areas and apply Peachaboo Hyaluronic Acid serum to each area before needling. This will help to ensure that the pen does not drag or pull on the skin. The recommended pattern to move the pen for best results is vertical, horizontal, and then diagonal in both directions. Using a light pressure and without dragging, repeat this motion over each area two times.
- Safely dispose cartridge after every use.
Critical: Alignment Installation Guide
⚠️ Align to Protect the Chip: The Dr. Pen M9 cartridges use sensitive electronic contacts. Follow these steps carefully to avoid damaging the Smart Chip.
-
Locate the Marker
Find the alignment arrow/mark on the cartridge interface. -
Match the Pen
Align the cartridge marker with the corresponding indicator on the Dr. Pen M9 body. -
Twist to Lock
Once aligned, twist clockwise to secure.
Warning: Do not force the cartridge into place. Incorrect installation may damage the electronic contact points.
Disclaimer
Please speak with your doctor before purchasing any Dr Pen products. The content on this site is not intended to substitute for the advice of a qualified physician, pharmacist, or other licensed healthcare professional. The products may have additional information and instructions on or inside the packaging that you should carefully read and follow. Contact your health-care provider immediately if you suspect that you have a medical problem. This product may not have been evaluated by the Food and Drug Administration and is not intended to diagnose, treat, cure, or prevent any disease or health condition. For any concerns or questions, please contact your GP or dermatologist.